Starting your journey with Raspberry Pi projects for beginners opens up an exciting world of DIY electronics, programming, and creative problem-solving. Whether you’re a complete novice or have some technical background, these beginner-friendly projects will help you master the basics while building something genuinely useful.
The Raspberry Pi’s affordability and versatility make it the perfect entry point into maker culture and IoT development. In this comprehensive guide, we’ll explore ten hands-on projects that require minimal coding experience and basic components you can easily source online.
What is Raspberry Pi and Why Start Here?
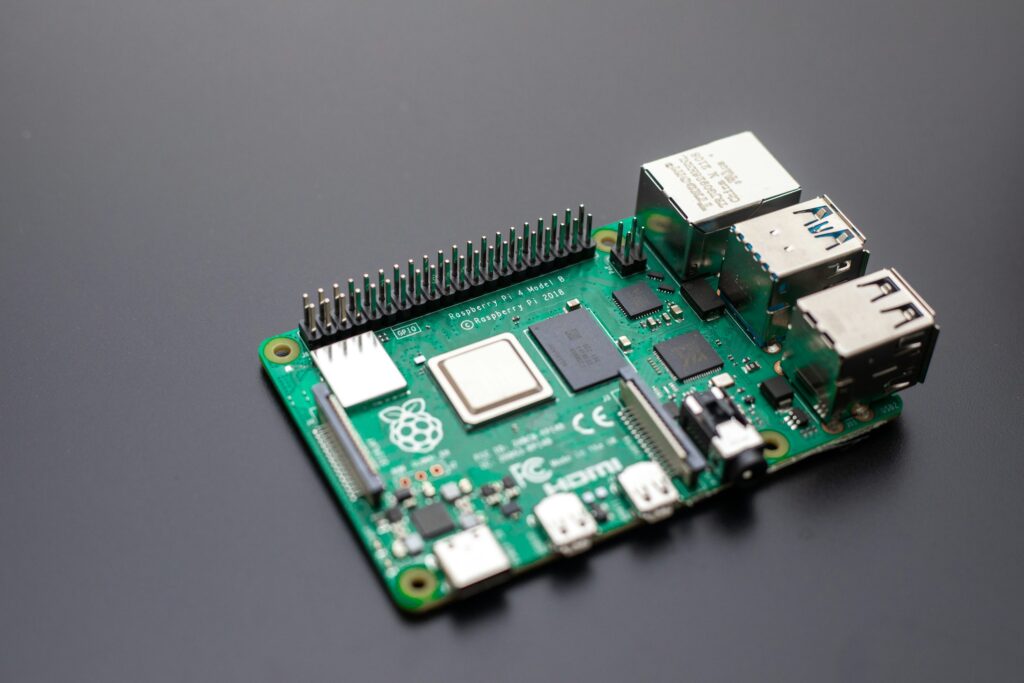
The Raspberry Pi is a credit card-sized single-board computer that runs Linux and costs under $50. Unlike Arduino microcontrollers, it offers full computing capabilities including Wi-Fi, Bluetooth, and support for multiple programming languages.
Why Choose Raspberry Pi for Beginner Projects?
- Low barrier to entry: No soldering required for most projects
- Extensive community support: Millions of tutorials and forums available
- Real-world applications: Projects you’ll actually use daily
- Gradual learning curve: Start simple and scale complexity naturally
- Cost-effective experimentation: Mistakes won’t break the bank
Essential Supplies for Your First Projects
Before diving into specific Raspberry Pi beginner projects, gather these fundamental components:
Must-Have Items:
- Raspberry Pi 4 (4GB RAM recommended)
- MicroSD card (32GB Class 10)
- USB-C power supply (5V/3A)
- HDMI cable and monitor
- USB keyboard and mouse
- Breadboard and jumper wires
Useful Additions:
- GPIO expansion board
- LED assortment pack
- Resistor kit (220Ω to 10kΩ)
- Basic sensors (temperature, motion, light)
- Small servo motors
Budget estimate: $80-120 for a complete starter kit
10 Best Raspberry Pi Projects for Beginners
1. Smart Home Temperature Monitor
- Difficulty: Easy
- Time: 2-3 hours
- Cost: $15-20
- Overview: Create a web-based temperature monitoring system using a DHT22 sensor.
What you’ll learn:
- Sensor interfacing
- Python programming basics
- HTML/CSS fundamentals
- Real-time data display
2. Motion-Activated Security Camera
- Difficulty: Beginner-friendly
- Time: 3-4 hours
- Cost: $25-30
- Overview: Build a system that captures photos when motion is detected using a PIR sensor and Pi Camera.
3. LED Light Strip Controller
- Difficulty: Easy
- Time: 1-2 hours
- Cost: $20-25
- Overview: Control WS2812B LED strips with custom patterns and effects.
Programming Concepts:
- GPIO output control
- Color theory in programming
- Loop structures and timing
4. Weather Station Display
- Difficulty: Intermediate-beginner
- Time: 4-5 hours
- Cost: $30-40
- Overview: Display weather data from online APIs on an LCD screen.
5. Voice-Controlled Assistant
- Difficulty: Moderate
- Time: 5-6 hours
- Cost: $35-45
- Overview: Build a basic voice assistant using Python and speech recognition.
6. Automated Plant Watering System
- Difficulty: Beginner
- Time: 3-4 hours
- Cost: $25-35
- Overview: Monitor soil moisture and automate watering using a sensor and relay.
7. Digital Photo Frame
- Difficulty: Easy
- Time: 2-3 hours
- Cost: $15-20
- Overview: Display rotating images from local or cloud storage.
8. Smart Doorbell with Notifications
- Difficulty: Intermediate
- Time: 4-6 hours
- Cost: $30-40
- Overview: Create a doorbell system that sends smartphone alerts with visitor photos.
9. Retro Gaming Console
- Difficulty: Beginner
- Time: 2-4 hours
- Cost: $20-30
- Overview: Use RetroPie to emulate classic games on your Raspberry Pi.
10. IoT Environmental Monitor
- Difficulty: Intermediate
- Time: 6-8 hours
- Cost: $40-50
- Overview: Combine sensors to monitor air quality, temperature, and humidity with cloud logging.
Getting Started: Setup and Installation
Step 1: Prepare Your Raspberry Pi
- Download Raspberry Pi Imager
- Flash Raspberry Pi OS to your microSD card
- Enable SSH and I2C via
raspi-config - Update system:
sudo apt update && sudo apt upgrade
Step 2: Basic Python Environment Setup
sudo apt install python3-pip python3-venv git
mkdir ~/raspberry-pi-projects
cd ~/raspberry-pi-projects
python3 -m venv venv
source venv/bin/activate
Step 3: Test GPIO Functionality
Start with a simple LED blink script to ensure everything works.
Troubleshooting Common Issues
Power Problems
Symptom: Random reboots or poor performance
Solution: Use a reliable 5V/3A power supply
GPIO Connection Issues
Symptom: Sensors unresponsive
Solution: Double-check wiring and use a multimeter if needed
Software Installation Errors
Symptom: Package install failures
Solution: Run sudo apt update first
For help, visit Raspberry Pi Forums or subreddits like r/raspberry_pi.
Next Steps and Advanced Learning
Intermediate Challenges
- Machine learning with TensorFlow Lite
- IoT with MQTT
- Custom PCB design
- Pi cluster computing
Learning Resources
- [Advanced Raspberry Pi tutorials]
- [Electronics basics for makers]
- [Python hardware programming guide]
Frequently Asked Questions (FAQs)
What are the easiest Raspberry Pi projects for beginners?
LED blinking, temperature sensors, and photo frames are ideal starting points.
How much do Raspberry Pi beginner projects cost?
$15–50 for components, or $80–150 for a full starter kit.
Do I need programming experience?
No, many projects are beginner-friendly and require only basic Python scripting.
What’s the best Raspberry Pi for beginners?
The Raspberry Pi 4 with 4GB RAM is ideal for most starter projects.
How long do projects take?
Simple builds: 1–4 hours. More complex projects: 6–8 hours.
Are these projects kid-friendly?
Yes! With supervision, many projects are suitable for ages 10+.
Ready to start your first Raspberry Pi project? Choose one that excites you, gather your parts, and start building today. Subscribe to our newsletter for weekly tutorials and tips to fuel your maker journey!