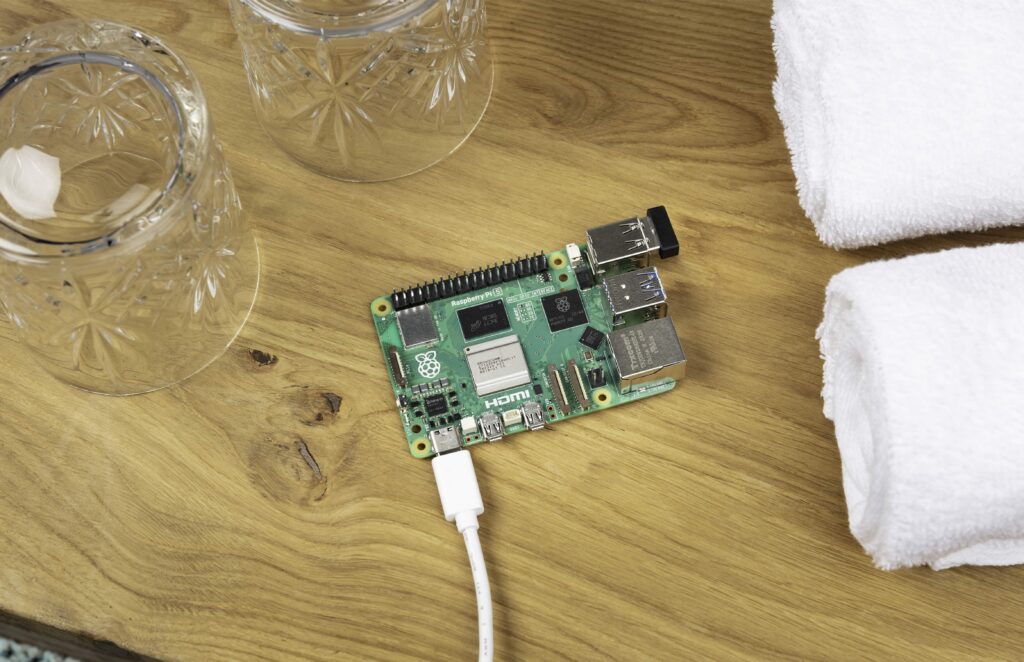
If you’ve ever wondered how to host website on Raspberry Pi, you’re in the right place. Raspberry Pi is a small, affordable computer that can be turned into a web server. This means you can run your own website right from home, without paying for expensive hosting.
In this guide, we’ll explain everything clearly and simply, so even if you’re new to computers, you’ll be able to get your website online using a Raspberry Pi.
What Is Hosting a Website on Raspberry Pi?
Hosting a website means storing your website’s files on a server that people can visit anytime. Usually, big companies rent out servers, but with a Raspberry Pi, you can make your own server at home.
The Raspberry Pi acts as a mini computer that serves your website files to anyone who types your IP address or domain name into a browser.
Why Should You Host a Website on Raspberry Pi?
- Cost-effective: Raspberry Pi costs around $35 and uses very little power.
- Learn tech skills: You get to learn about web servers, Linux, and networking.
- Full control: You decide how your site works, no restrictions.
- Great for small projects: Perfect for personal blogs, portfolios, or testing websites.
How to Host Website on Raspberry Pi: What You Need
Before starting, gather these items:
- Raspberry Pi (preferably model 3 or newer)
- MicroSD card with Raspberry Pi OS installed
- Internet connection
- Basic keyboard, mouse, and monitor for setup (or connect remotely via SSH)
Step 1: Set Up Raspberry Pi OS
First, install Raspberry Pi OS, the official operating system, on your microSD card using the Raspberry Pi Imager tool. Once installed, insert the card and power on your Pi.
Make sure your Pi is connected to the internet and updated by opening the terminal and running:
bashCopyEditsudo apt update && sudo apt upgrade

Step 2: Install the Apache Web Server
Apache is popular software that lets your Pi serve web pages.
To install Apache, open the terminal and type:
bashCopyEditsudo apt install apache2 -y
Once installed, type your Raspberry Pi’s IP address into a web browser on any device connected to your network. If you see a page titled “Apache2 Debian Default Page,” congratulations — your web server is running!
Step 3: Add Your Website Files
Your website’s files live in the /var/www/html/ folder on your Pi. You can edit the default page like this:
bashCopyEditsudo nano /var/www/html/index.html
Replace the existing text with your own HTML content. Save and exit the editor by pressing Ctrl+X, then Y, then Enter.
You can also upload full websites via FTP tools like FileZilla.
Step 4: Make Your Website Accessible from the Internet
To let people outside your local network visit your website, follow these extra steps:
- Set up port forwarding on your router to direct web traffic (port 80) to your Raspberry Pi’s IP.
- Use a Dynamic DNS service like No-IP or DuckDNS if your public IP address changes.
- Test your website from a different internet connection or mobile network to make sure it’s accessible.
Step 5: Secure Your Raspberry Pi Server
Since your Pi is open to the internet, security matters.
- Change the default password immediately: bashCopyEdit
passwd - Install a firewall and allow only necessary ports: bashCopyEdit
sudo apt install ufw sudo ufw allow 80 sudo ufw enable - Keep your system updated to patch vulnerabilities regularly.
Helpful Tips When Hosting a Website on Raspberry Pi
- For beginners, start with a simple static HTML site before trying complex setups like WordPress.
- Your Raspberry Pi won’t be as fast as professional hosting servers, so it’s better for low-traffic sites.
- Make backups of your website files regularly.
- You can run other server software like Nginx or Node.js if you prefer.
In the end
Now you know exactly how to host website on Raspberry Pi — from setting up the OS and Apache server to adding your website files and making the site available online. Hosting your own site on Raspberry Pi is a rewarding project that teaches you valuable tech skills and puts you in control of your web presence.
Start your Raspberry Pi web server today and enjoy the journey of building and managing your own website!


