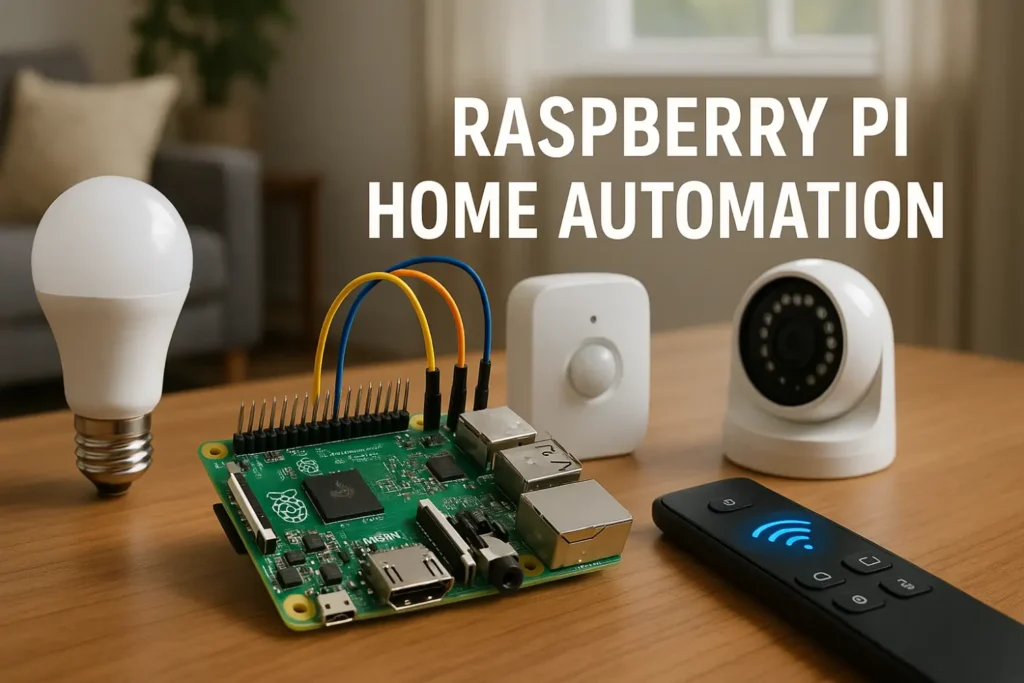
What Is Home Assistant and Why Use It on Raspberry Pi 3B?
Have you ever wanted to control your lights, fans, door sensors, or plugs from one single place? That’s what Home Assistant helps you do! It’s like a magic remote control for your smart home.
Now, you might wonder: Can I really start running Home Assistant on Raspberry Pi 3B in 2025?
Yes—you totally can! It’s a small, low-cost computer that’s perfect for simple home automation setups.
Even though the Pi 3B is a bit older, it still works great for beginners. You don’t need a supercomputer to make your smart home smarter!
Why Choose Raspberry Pi 3B for Home Assistant?
Running Home Assistant on Raspberry Pi 3B is a great idea for beginners, students, or anyone who wants to save money.
Here’s why the Raspberry Pi 3B is a solid pick:
- Low Cost: It’s cheaper than Pi 4 or 5.
- Energy Efficient: Uses less power, perfect for 24/7 use.
- Enough Power: Can handle light to medium smart home setups.
- Beginner-Friendly: Easy to set up and use.
What You’ll Need Before Running Home Assistant on Raspberry Pi 3B
Let’s get your kit ready. Here’s what you need:
| Item | Purpose |
|---|---|
| Raspberry Pi 3B | The main board—the brain |
| microSD Card (32GB+) | For storing the Home Assistant OS |
| Power Supply (5V 2.5A) | To power the Pi |
| Ethernet Cable or Wi-Fi | To connect to your internet |
| A Computer | To flash the Home Assistant image |
| Card Reader | So your computer can write to the SD |
Optional: A case for your Pi and a small fan to keep it cool.
Step-by-Step: Running Home Assistant on Raspberry Pi 3B
Let’s walk through how to do it in simple steps:
Step 1: Download Home Assistant OS for Raspberry Pi 3B
Visit the official Home Assistant install page.
Choose the version made for Raspberry Pi 3 and download the .img.xz file.
This file is the special system that helps you start running Home Assistant on Raspberry Pi 3B.
Step 2: Flash the File to Your SD Card
Now we need to copy the file onto the SD card:
- Install a tool like Raspberry Pi Imager or Balena Etcher.
- Open the program, pick the Home Assistant file you downloaded.
- Select your SD card.
- Hit “Flash” and wait for it to finish.
This takes just a few minutes.
Step 3: Start Up Your Raspberry Pi 3B
- Put the SD card into your Raspberry Pi 3B.
- Plug in the power cable.
- Connect it to the internet (Ethernet is best).
- Wait about 5 to 10 minutes—it’s setting things up.
Step 4: Access Home Assistant
Open your computer’s browser and type:
arduinoCopyEdithttp://homeassistant.local:8123
If that doesn’t work, find your Pi’s IP address on your router (or use a monitor and keyboard on your Pi) and visit:
cppCopyEdithttp://YOUR-PI-IP:8123
Step 5: Set Up Home Assistant
Once it loads:
- Create a username and password
- Choose your location and time zone
- Add your first smart devices
Now you’re officially running Home Assistant on Raspberry Pi 3B!

Performance Tips for Raspberry Pi 3B
The Pi 3B is good for most smart home needs, but here are tips to make it even better:
Use Ethernet Instead of Wi-Fi
This gives you a faster, more stable connection—less chance of problems.
Avoid Heavy Add-ons
Stick to basic add-ons like File Editor or Samba Share. Avoid things that use lots of memory or CPU.
Use a Good SD Card
Cheap SD cards can crash or slow down. Use at least a 32GB Class 10 card.
Keep It Cool
The Pi 3B can get warm. A simple fan or heat sink can help it stay cool and run better.
What Can You Do After Running Home Assistant on Raspberry Pi 3B?
Now that it’s up and running, what’s next?
You can automate things like:
- Turning lights on at sunset
- Getting phone alerts when a door opens
- Setting a bedtime mode that turns everything off
- Voice control with Alexa or Google Assistant
- Monitor motion or water leaks in your home
You can also add integrations for:
- Philips Hue
- TP-Link Smart Plugs
- Zigbee or Z-Wave devices
- Sonoff and Shelly switches
The possibilities are endless—and you don’t need to be a tech wizard to make it happen!
Troubleshooting: What If It Doesn’t Work?
- Nothing loads in the browser?
Wait a bit longer. The first boot can take up to 10 minutes. - Still can’t access it?
Try using the IP address of your Pi instead ofhomeassistant.local. - Don’t see devices?
Make sure they’re powered on and on the same Wi-Fi or network as your Pi.
Can You Still Run Home Assistant on Raspberry Pi 3B in 2025?
Absolutely! Even in 2025, running Home Assistant on Raspberry Pi 3B works great for most users. It’s perfect for small to mid-sized smart homes. If your system gets bigger later, you can upgrade to a Pi 4 or another computer.
But to start out? The 3B gets the job done and saves you money.
Is Raspberry Pi 3B a Good Pick for Home Assistant?
Yes! It’s cheap, it’s easy to use, and it gives you total control over your smart home. Whether you’re turning on lights, checking your doors, or setting up automations, running Home Assistant on Raspberry Pi 3B is the best first step.
It’s like giving your smart home a little brain—and you’re the boss!